

To draw headphones easily, start by sketching two circles for the earpieces and a curved line connecting them. Then, draw the headband and add detail like buttons and wires.
If you’re looking to create a simple and fun drawing of headphones, follow these easy steps. Drawing headphones can be enjoyable for beginners and kids alike. Whether using a pencil or following a step-by-step tutorial, creating a cool headphone drawing is achievable.
By using basic shapes and adding small details, you can produce a realistic and cute representation. So, let’s get started on this art project and learn how to draw headphones the easy way.
Materials Needed
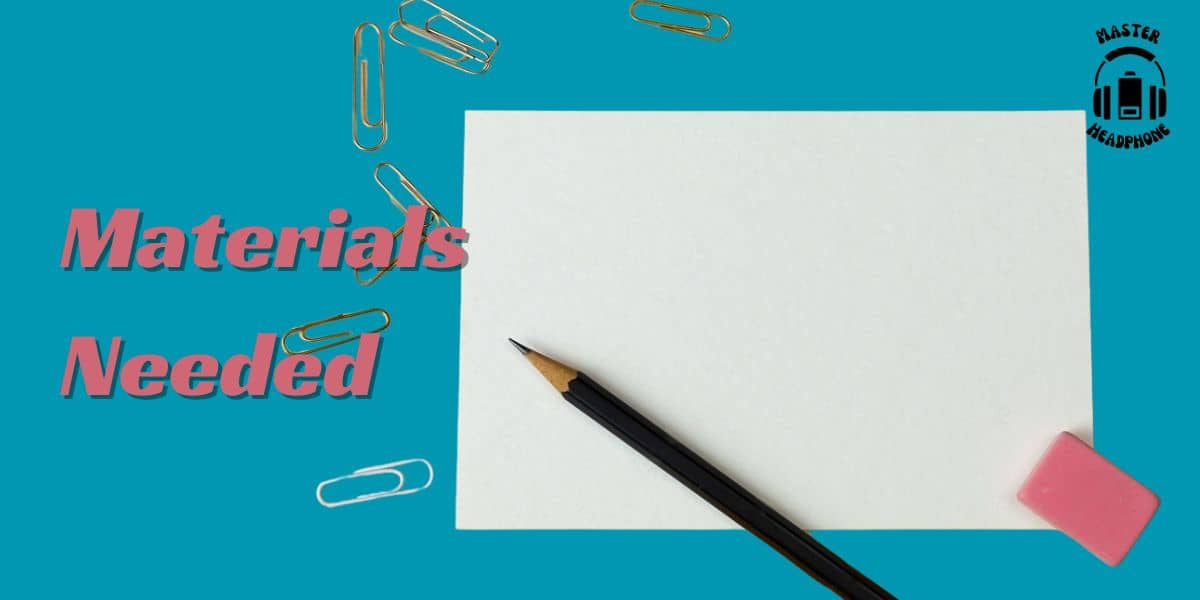
To begin drawing headphones easily, you will need a few basic materials. These include a pencil, eraser, and paper. Let’s take a closer look at each of these materials:
Pencil
A pencil is an essential tool for sketching and outlining the shape of the headphones. You can use a standard graphite pencil with an HB or B lead for clear lines and easy reusability.
Eraser
An eraser is crucial for making corrections and adjustments to your headphone drawing. opt for a soft eraser that won’t smudge the pencil marks and allows you to refine the details with precision.
Paper
The type of paper you use can impact the overall quality of your drawing. Choose a smooth, medium-weight paper that accommodates pencil strokes well. A sketch pad or drawing paper is ideal for this purpose.
Drawing The Basic Shape
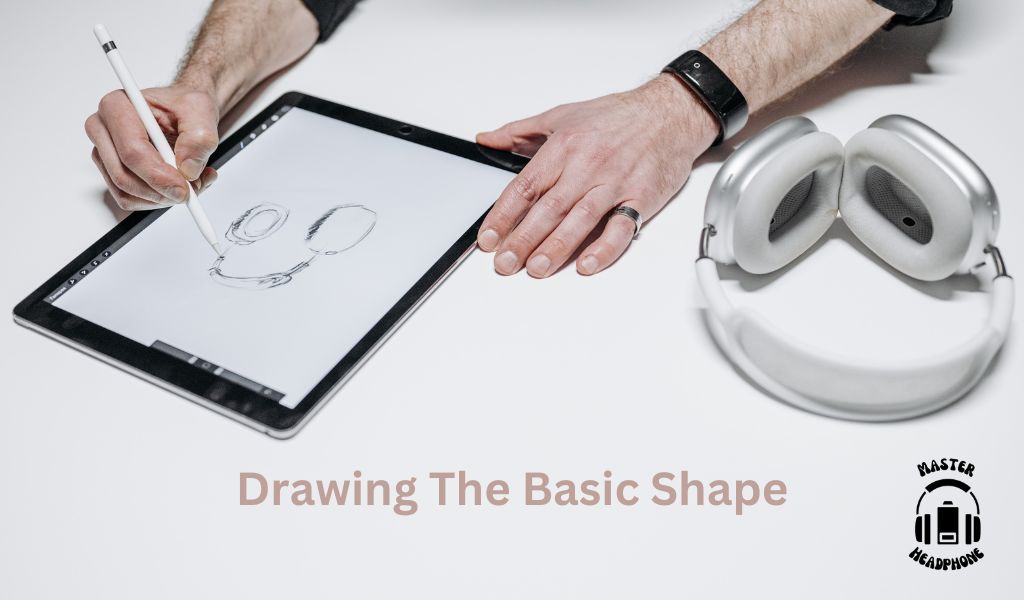
Drawing the basic shape of headphones is the first step in creating a simple and easy drawing. Begin with two curved lines for the top part, then add the circular earpieces. This approach simplifies the process for beginners and kids.
Drawing Two Circular Shapes
To begin drawing headphones, start by creating two circular shapes, one for each earpiece. These circles will serve as the foundation for the headphones’ structure. Ensure that the circles are relatively proportional in size, as this will contribute to the overall symmetry of the drawing.
Connecting The Circles With A Curved Line
Once the circular shapes are in place, connect them with a curved line to form the headband of the headphones. This curved line should outline the top of the head, connecting the two circular shapes seamlessly. Pay attention to the curvature and shape of the line to maintain a realistic representation of the headphones’ design.
By following these simple steps, you can easily create the basic shape of headphones, setting the stage for further detailing and refinement in subsequent stages of the drawing process.
Adding Details
Adding details to your drawing of headphones helps bring your illustration to life. This is the step where you can make your headphones unique and personalized. Here’s how you can add details to the different parts of the headphones:
1. Drawing The Band
Start by sketching a curved line to create the headband of the headphones. Add parallel lines to give it a 3D effect, and then add small details such as brand logos, patterns, or any decorations to make it stand out.
2. Adding Earpieces
Create circular shapes for the earpieces and add smaller shapes inside to represent the speakers. You can add shading and texture to make them look more realistic. Consider adding designs or patterns to the earpieces, making them unique and stylish.
3. Including The Wire And Plug
Draw a wire connecting the earpieces to the plug. You can add details to the wire, such as twists or patterns. The plug can be customized with unique designs or patterns, giving your headphones a distinctive look.
Shading And Final Touches
Once you have sketched the basic outline and detailing of the headphones, the next step involves shading and final touches. It is important to add depth and dimension to your drawing, as well as uphold the finer details that make the headphones stand out. Let’s dive into the specifics of adding shading for depth and finalizing details and highlights.
Adding Shading For Depth
Shading is an essential technique in creating the illusion of depth and form in your drawing. To add depth to the headphones, start by identifying the areas where shading should be applied. Utilize a lighter pencil stroke for the highlighted areas and a heavier stroke for the shadows to create a realistic effect. Pay close attention to the contours and curves of the headphones, as these areas often require subtle shading to convey their shape accurately.
Finalizing Details And Highlights
Completing the drawing with the final touches and highlights is crucial to achieving a polished result. Focus on refining the small features of the headphones, such as the volume controls, wires, and any branding details. Utilize precise lines to define these elements, and consider using a blending tool to soften any harsh transitions in the shading. Furthermore, apply highlights strategically to accentuate the glossy surfaces and enhance the overall realism of the headphones.
Frequently Asked Questions Of How To Draw Headphones Easy?
How Do You Draw Earbuds Step By Step?
To draw earbuds, first sketch a simple oval for each ear. Add small circles inside for the earpiece. Then draw the wire hanging down. Finish by adding details like controls and labels. Keep practicing until you get the perfect earbuds drawing.
How To Draw A Gaming Headset?
To draw a gaming headset, start by sketching the basic shape. Then add details, like the microphone and ear cushions. Use different line weights to create depth. Coloring is the final step! Transform basic shapes and lines into a realistic gaming headset drawing.
How Do You Draw A Pair Of Headphones?
To draw a pair of headphones, start with the headband, then add the ear cups and connect them. Add details like cushions and wires.
How Do You Draw An Earpad?
To draw an earpad, start with an oval for the earpiece, add a curved line for the stem, and include details for the microphone and sensors. Then, draw the charging case with rounded edges. For more details, visit online tutorials and videos for step-by-step guidance.
Conclusion
In drawing headphones, practice makes perfect. Experiment with different shapes and sizes to develop your unique style. Remember to pay attention to details and shading for a realistic effect. Keep exploring and developing your skills, and soon, drawing headphones will become second nature to you.
Keep drawing!